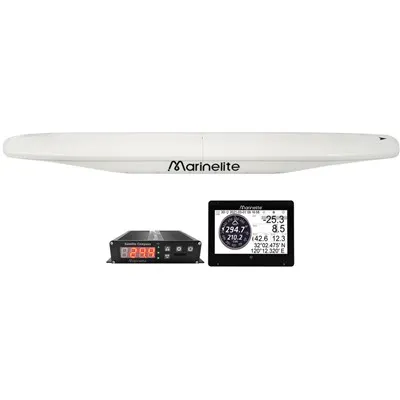
Installing a Thru-Hull Marine Transducer: A Step-by-Step Guide
Installing a Thru-Hull Marine Transducer: A Step-by-Step Guide
If you're looking to install a thru-hull marine transducer on your boat, there are a few things you need to know beforehand. In this step-by-step guide, we'll walk you through the process of installing a thru-hull marine transducer, from determining the correct location for installation to the final wiring connections.
Step 1: Determine the Correct Location
Before you begin the installation process, it's essential to choose the right location for your thru-hull marine transducer. The location should offer minimal water turbulence and a clear path for the transducer's signal. Ideally, you want to mount the transducer where it will be completely submerged in the water and positioned in a level plane in relation to the hull. A good location for a thru-hull marine transducer is in the hull's deadrise flat section, a few feet ahead of the boat's prop.
Step 2: Prepare the Work Area
Once you've chosen the location for your thru-hull marine transducer, you'll need to prepare the work area. Begin by cleaning the area around the installation site, removing any dirt or debris that might hinder the transducer's performance. Next, mark the area with a template or a piece of paper cut to the size of the transducer. This will help you ensure that you're drilling the hole in the right place and that it's the right size.
Step 3: Drill the Hole
Using a drill, drill a hole in the hull where you marked the template. The hole should be slightly larger than the diameter of the transducer stem. Be careful not to drill too deep or too close to the keel. Remember, you can always make the hole bigger, but you can't make it smaller.
Step 4: Install the Transducer
Before installing the thru-hull marine transducer, you'll need to clean the area around the hole and the transducer. You can use a marine-grade sealant to ensure that there is no leaking around the transducer once installed. Place the transducer on a flat surface, apply a bit of the sealant around the transducer stem, and then insert it into the hole in the hull. Make sure that the transducer is level and secure.
Step 5: Make Electrical Connections
Once the thru-hull marine transducer is installed, you need to connect the electrical wires. Note that the type of wiring may vary depending on the brand and model of your transducer. Therefore it's recommended that you read the instructions that came with the transducer for accurate wiring information.
As a general rule, the red wire should attach to the positive lead of the battery, while the black wire should attach to the negative lead. If the transducer has a third wire, it's usually green, which is the ground wire.
Step 6: Test the Transducer
Finally, before you hit the water, it's crucial to test the transducer to ensure that it's working correctly. Turn on your fish finder and check for a signal. If the signal is weak or non-existent, you might need to adjust the angle of the transducer. If everything appears to be working as expected, you're good to go.
Conclusion
Installing a thru-hull marine transducer may seem like a daunting task, but with the right knowledge and tools, it's something you can do yourself. Remember to take your time, choose the correct location, and read the manufacturer's instructions carefully. Following these steps will allow you to get the most out of your investment and experience the best fishing possible.